Many pet owners often ask, “Do cats need their ears cleaned?” While most felines maintain clean ears without human intervention, the unique structure of their ear canal can sometimes retain material, causing discomfort or infections. Knowing when and how to clean your cat’s ears is crucial for their health and hygiene.
The step-by-step guide provided helps ensure the process is as stress-free as possible for both you and your pet. It includes holding your cat comfortably, carefully applying the cleaner, massaging the base of the ear to loosen debris, and wiping away any excess. Positive reinforcement after the cleaning can help make future sessions easier.
Ear care is an essential aspect of pet wellness that should not be overlooked. With the right information and approach, keeping your cat’s ears clean and healthy can be a straightforward part of your pet care routine.
Home Ear Cleaning vs Vet Visits
Home ear cleaning is a useful skill for any cat owner, especially if your furry friend is prone to wax build-up or infections. The ears of cats can be delicate, so knowing the proper way to clean them and recognizing when professional help is needed is key.
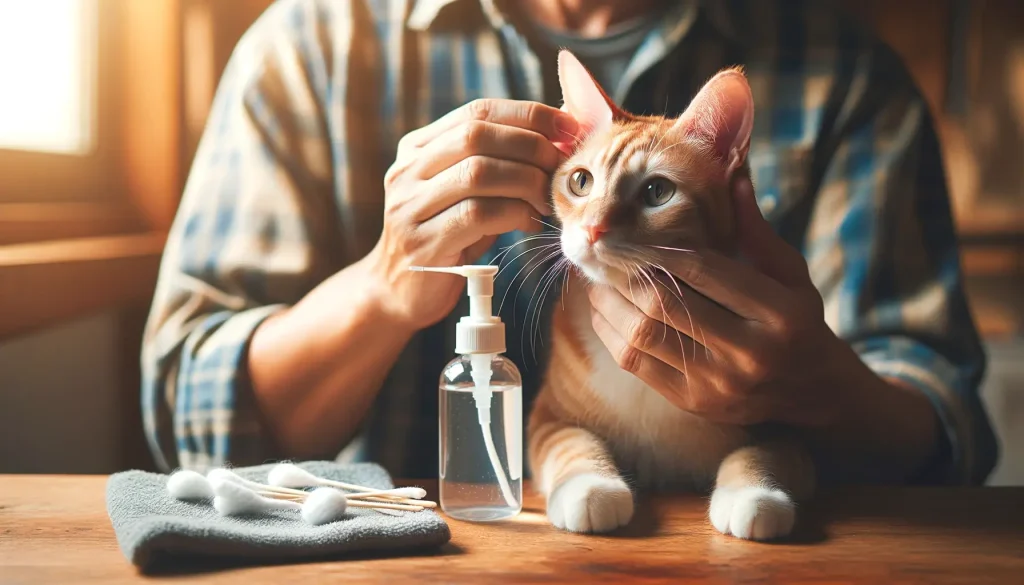
For routine home cleaning, gather a high-quality ear cleaning solution, cotton balls or gauze, and of course, some treats to reward your cat. It’s critical to avoid items like Q-tips that could damage the ear or push the wax deeper. A gentle massage at the base of the ear after application of the solution helps break up the wax, followed by a careful wipe to clear out any debris.
However, not all situations can be addressed at home. If your cat’s ears exhibit redness, inflammation, odor, or if your cat seems in pain, these are signs that a vet visit is necessary. Conditions such as ear infections or a ruptured ear drum are serious and require professional treatment.
In terms of seeking professional care, remember that prevention is better than cure. Regular check-ups can help catch potential issues before they become serious. But if your cat visibly reacts to ear cleaning by showing discomfort or pain, it’s time to consult your veterinarian.

Guide for Cat Ear Cleaning
Cleaning your cat’s ears might seem daunting, but it’s simple with these steps. Follow this guide to ensure a safe and efficient cleaning routine.
- Get Comfortable: Start by finding a cozy spot. Hold your cat gently in your lap, possibly wrapping them in a towel if they tend to squirm.
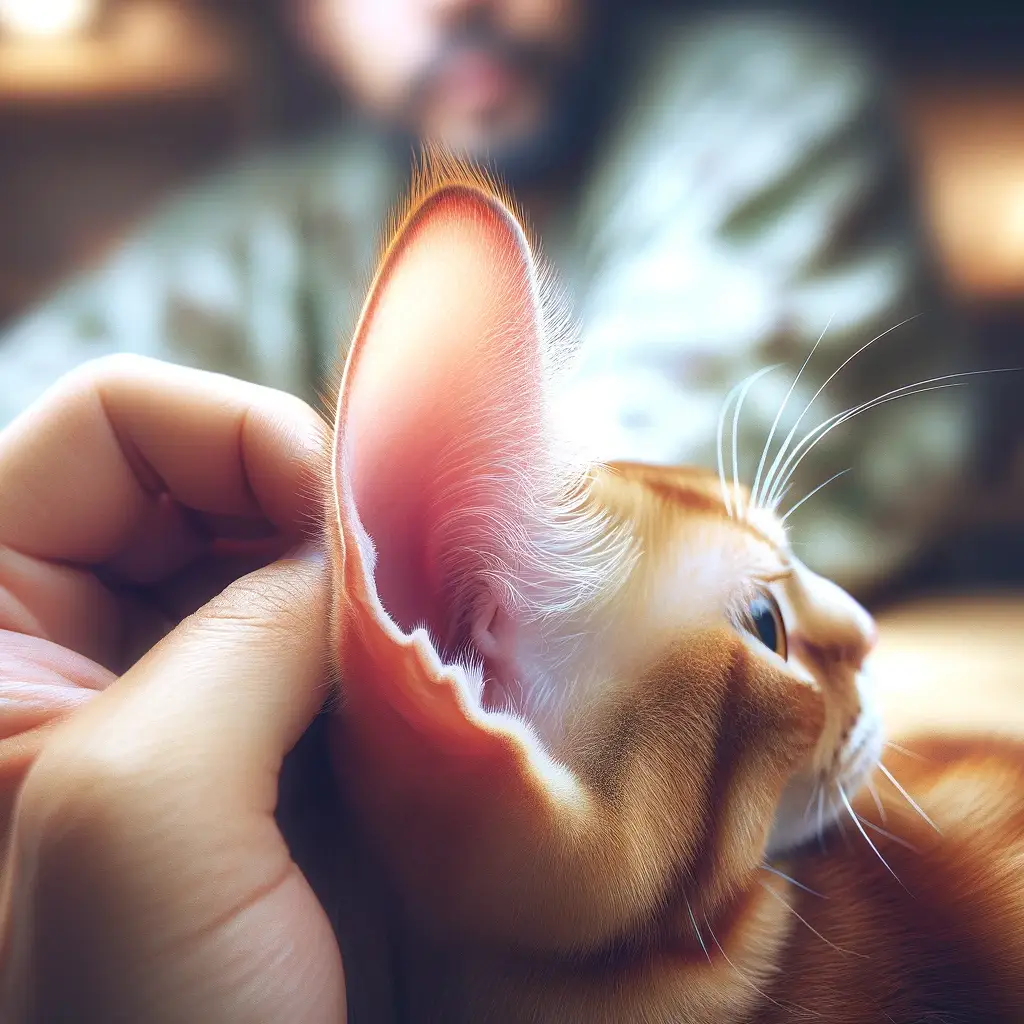
- Expose the Canal: Lift the ear flap gently to straighten and reveal the ear canal.
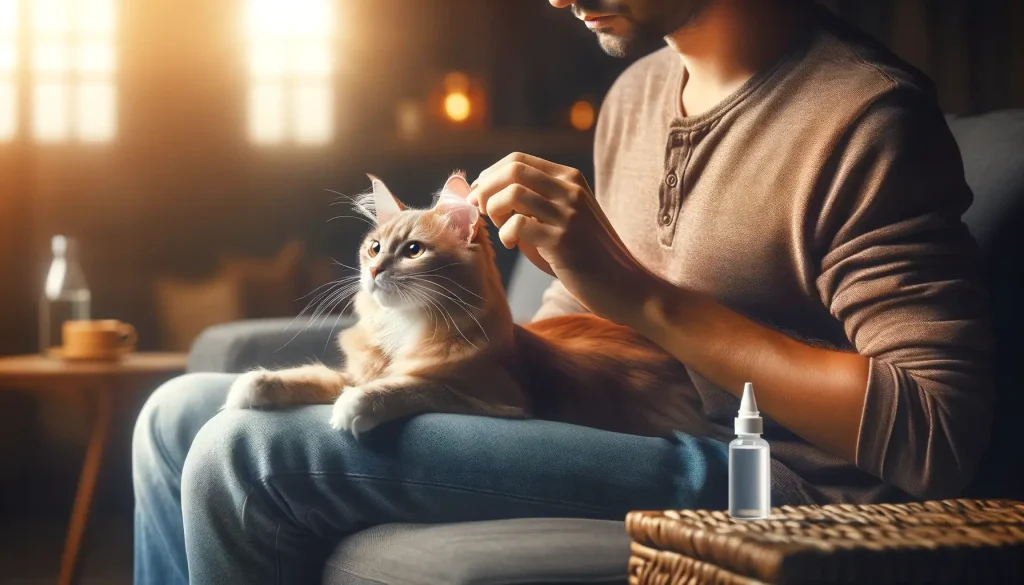
- Apply Cleaner: Using a quality ear cleaning solution, fill the ear canal. Don’t skimp on the solution; it’s key to loosening up the wax and debris.
- Massage Gently: Spend about 30 seconds massaging the base of the ear. This helps the cleaning solution work its magic.
- Let Them Shake: Your cat will naturally want to shake their head. This action helps to remove the loosened debris.
- Clean Up: Use a cotton ball or gauze to wipe away any visible debris from the outer part of the ear canal. Stay gentle to avoid irritation.
- Reward: Don’t forget a treat for your furry friend. Positive reinforcement makes future cleanings easier.
- Repeat: If both ears need cleaning, simply repeat the process for the other ear.
If at any point your cat shows signs of discomfort or pain, it’s crucial to pause the cleaning. Underlying issues like an ear infection or a ruptured ear drum might need a vet’s attention. Consulting your vet importantly, ensures your cat’s ear health is properly managed without risking further complications.
Tools for Cat Ear Cleaning
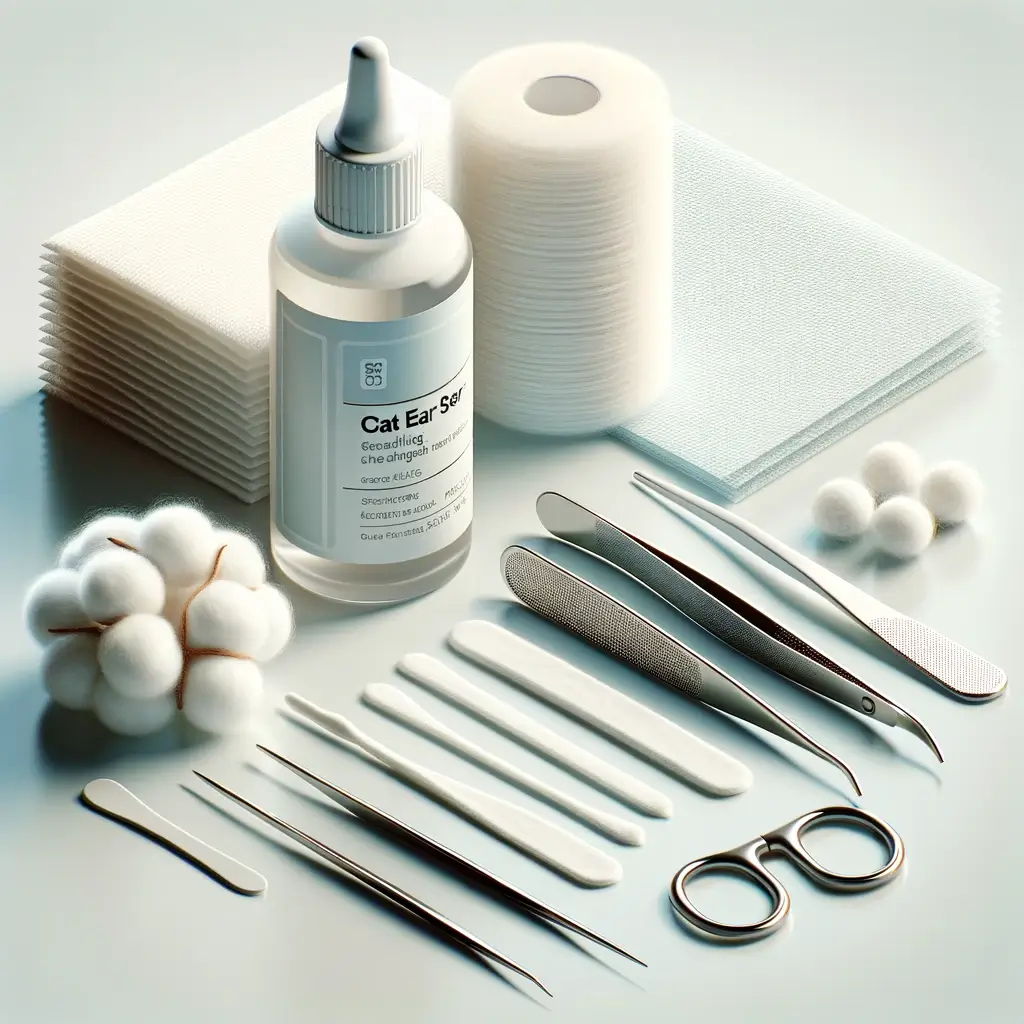
Selecting the right tools for cleaning your cat’s ears is crucial for their comfort and the effectiveness of the cleaning process. Using appropriate tools not only makes the process smoother but also ensures the safety and health of your cat’s delicate ear canals. Here are some essentials and tips for picking the best tools for the job.
- Ear Cleaning Solutions: Use vet-recommended solutions designed for cats to dissolve wax and debris gently, avoiding harsh chemicals like alcohol or hydrogen peroxide.
- Cotton Balls or Gauze: Soft materials like cotton balls or gauze pads are perfect for wiping the outer ear and flap, effectively removing loosened debris without harming your cat’s skin. Avoid using cotton swabs deep inside the ear.
- Tweezers (if needed): Blunt-ended tweezers can be used cautiously to remove visible debris or earwax at the entrance of the ear canal, ensuring not to go too deep.
- Treats: Treats are valuable for rewarding your cat throughout the cleaning process, fostering a positive association and minimizing stress.
- Towel or Blanket: Wrapping your cat in a towel or blanket helps keep them calm and secure during cleaning, providing both comfort and protection for you from scratches.
Remember, the goal is to make the ear cleaning experience as stress-free and comfortable as possible for your cat. Consulting with your veterinarian about the best tools and techniques for your specific cat is always a wise approach.
Prevent Future Wax Woes
Cat ear health is vital. Yet, not all owners know how to prevent ear wax build-up effectively. Let’s dive into simple steps to keep those feline ears clean and clear.
First, understand that ear cleaning is not a regular necessity for every cat. However, for those prone to wax or infections, it’s essential. The key? Routine checks. Regularly examining your cat’s ears helps spot issues early.
Using the right ear cleaner is critical. Avoid products with hydrogen peroxide or alcohol, as they may irritate. Instead, opt for cleaners with antibacterial or antifungal ingredients. These choices help ward off potential infections. Always consult your veterinarian for the best pick for your pet.
When it comes to cleaning tools, simplicity is best. All you need is a quality ear cleaning solution, cotton balls or gauze, and some treats for your furry friend post-cleaning. Avoid Q-tips or similar items, as they pose risks to your cat’s delicate ears.
Remember, not every cat requires frequent ear cleaning. Overdoing it can irritate the ears, leading to unwanted issues. Cleaning should be done only when necessary – like when you notice discharge or a foul smell.
If your cat’s ears look red, seem inflamed, or if they show discomfort, halt any cleaning attempts. These signs could indicate an underlying problem, such as an infection or even a ruptured ear drum. In such cases, professional veterinary care is needed.
Spotting Ear Problems Early
Recognizing early signs of ear issues in cats is a game-changer for their health and comfort. Ear problems can manifest in various ways, but early detection is key to preventing more serious conditions. Look for symptoms such as excessive scratching, head shaking, or any unusual discharge from the ears. These are red flags signaling that your cat might be dealing with discomfort or even an infection.
Behavioral changes can also indicate ear problems. If your cat becomes more irritable, less playful, or avoids being touched around the head, it’s time to take a closer look. An unusual odor emanating from the ears is another telltale sign of potential issues. This could be the result of wax build-up, bacteria, or yeast infections, which require prompt attention.
Routine ear checks are your first line of defense. By regularly inspecting your cat’s ears, you can spot these signs early and take action before the problem escalates. If you observe any of these symptoms, avoid attempting to clean the ears yourself, especially if your cat appears to be in pain. Instead, consult your veterinarian for a professional assessment and treatment plan.
Beginner Guide to Raising Quail at Home

What are the Signs of a Dog Concussion?

What Causes Your Dog’s Ears to Smell Bad?
When your dog’s ears start to emit an unpleasant odor, it might leave you puzzled…
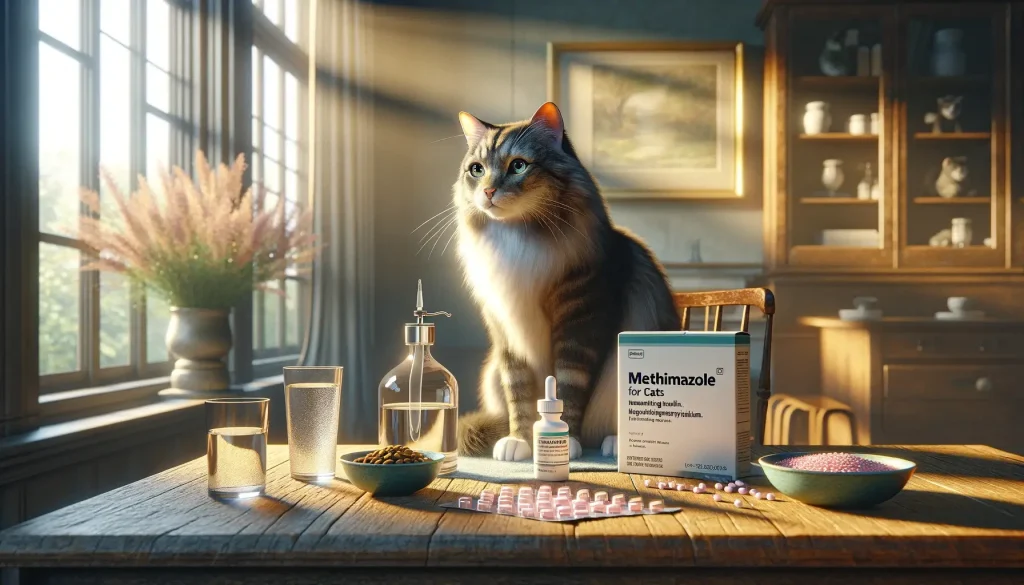
Methimazole Treatment for Cat Hyperthyroidism
Methimazole plays a crucial role in managing feline hyperthyroidism, a condition marked by an overactive…
Got Hummingbirds in your Backyard? Here’s How to Care for Them.
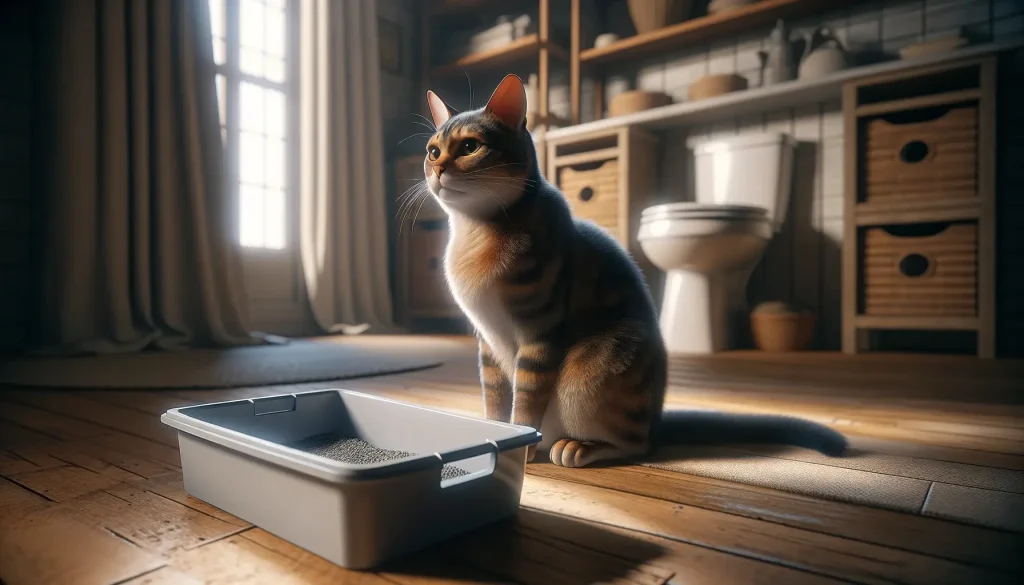
Why Does Your Cat Pee Outside the Litter Box?
Cat’s Litter Box Issues It’s not uncommon for cat owners to face the frustrating dilemma…